Pages

Showing posts with label scinece. Show all posts

Tuesday, September 24, 2019

lab Intro

Hurumanu - Science Laboratory introduction

Aim: To learn about the expected behaviour in a science laboratory.


Our R9 Class Treaty
  1.    bags under your desk 
  2.    no food and drink
  3.   no running
  4.   don't touch experiments
  5.  report any breakage or spills
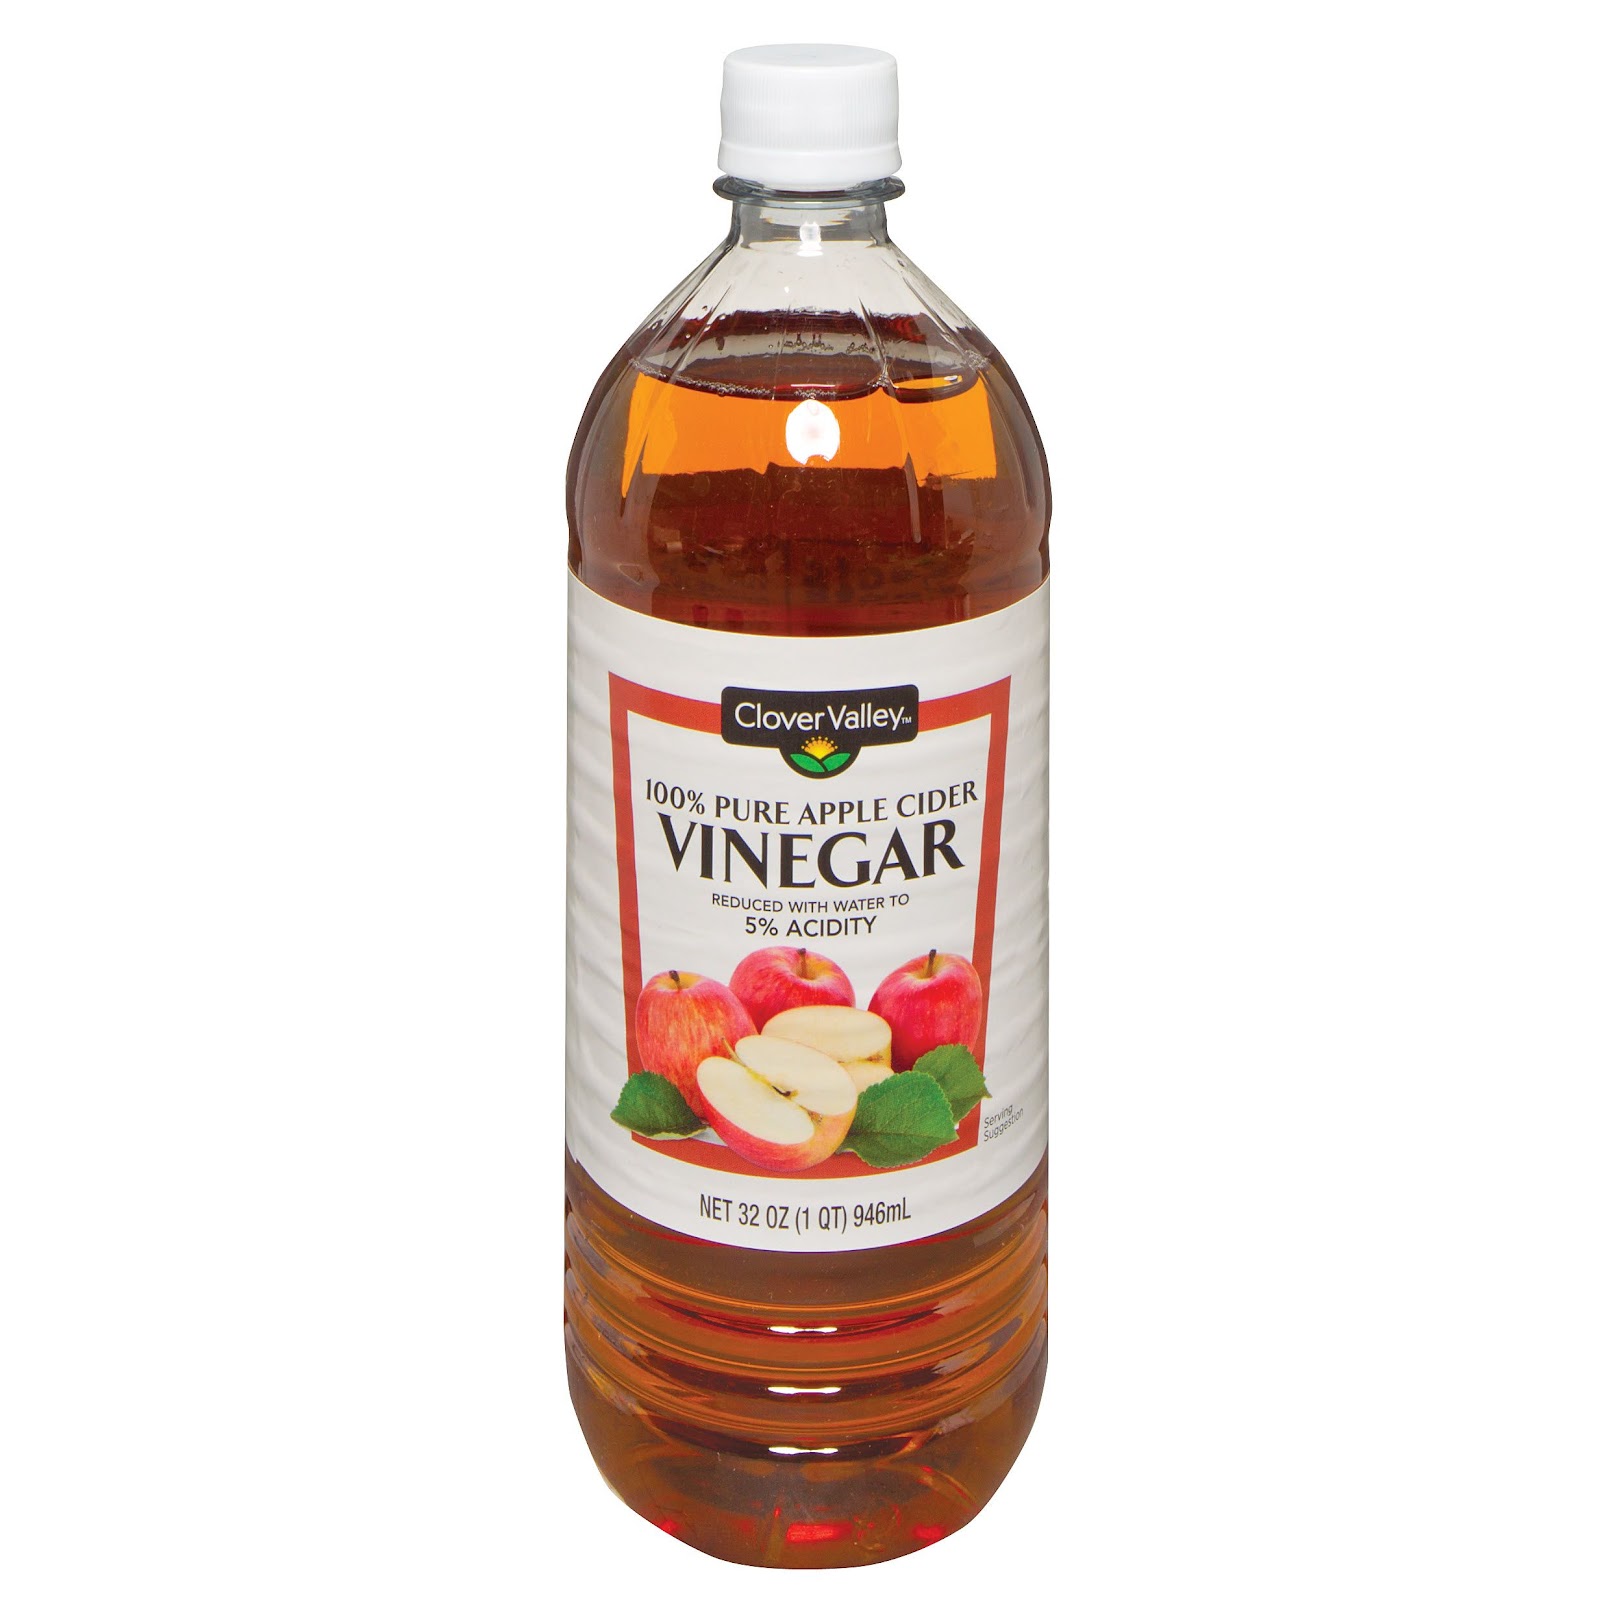
  6.   do not taste or sniff anything
Safety in a laboratory.

teacher   shoes   practical  teacher laboratory   ask  sniff teacher  breakages 
  1.   Follow the instructions given to you by the teacher.
  2.   You must not enter the laboratory without your shoes.
  3.   Report all accidents to your teacher.
  4.   You must never eat or drink in a lab.
  5.   shoes must be worn at all times.
  6.   If you spill something you should tell your teacher immediately.
  7.  You should wash your hands after every activity.
  8. You should know what you are doing. If in doubt ask your teacher.
  9. Never taste or smell chemicals.
In your group, discuss how the following scenarios could be dangerous.
  1. Not putting your bag under your desk.  someone can trip
  2. Running around in the laboratory. someone can trip
  3. Not wearing shoes in a laboratory. you can stub your tow
  4. Shaking a test tube with your thumb over its mouth? chemicals could harm your skin
How do we work in this laboratory?
  1. Beginning and End of class: Lining up, Entry, Seating, 
  2. Equipment tray: equipment list and details.
  • Test tube - This is used for experiments using liquids. They have a bung that can be placed in the top. Test tubes sit in a test tube rack.Image result for test tubeConical Flask - This is used for experiments with liquid up to 150 ml. The flask has a rubber bung for the top and the glass is heatproof.Image result for Conical Flask
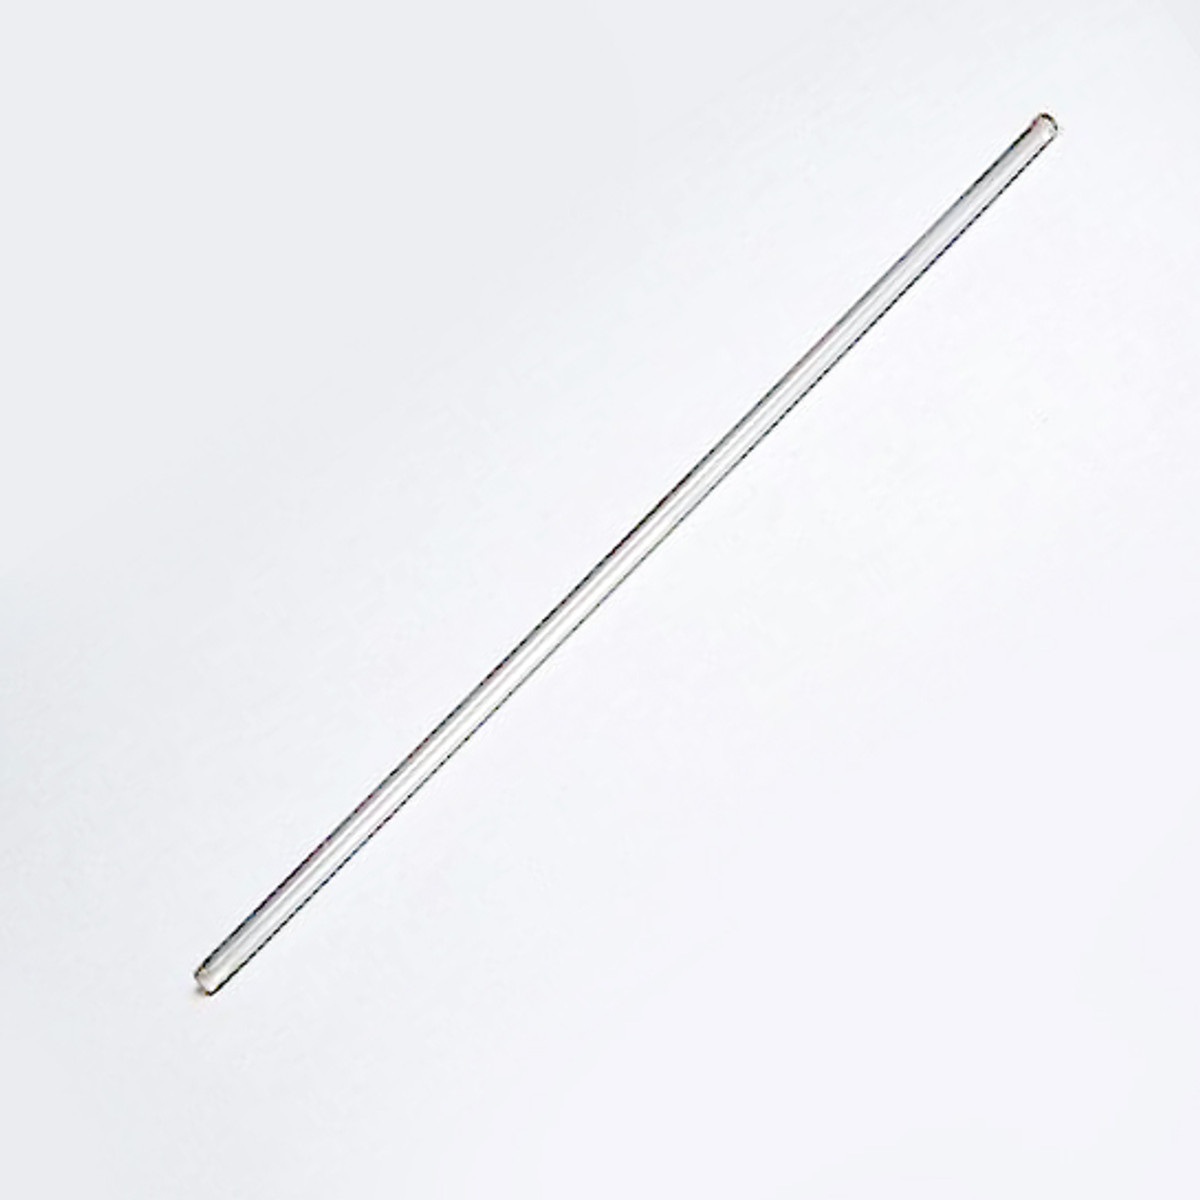
  • Glass Stirring rod - This is a 20cm glass rod used to stir and mix any liquids together.Image result for Glass Stirring rod
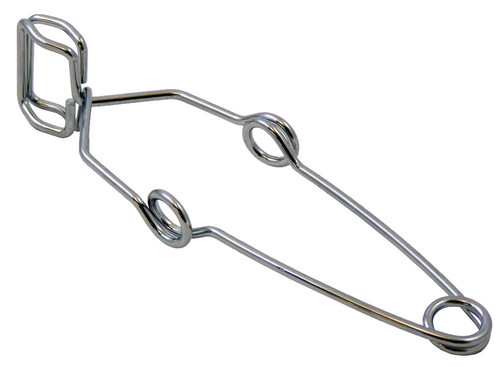
  • Test tube tongs - These are used to hold a hot test tube after an experiment.
  • Image result for Test tube tongsSpatula - This is for holding very small amounts of chemical powders.
  • Image result for Spatula
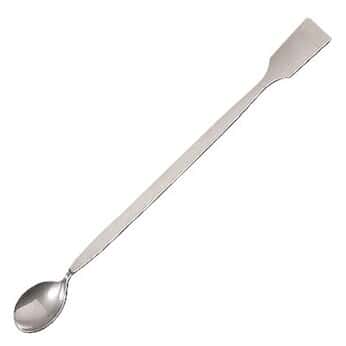
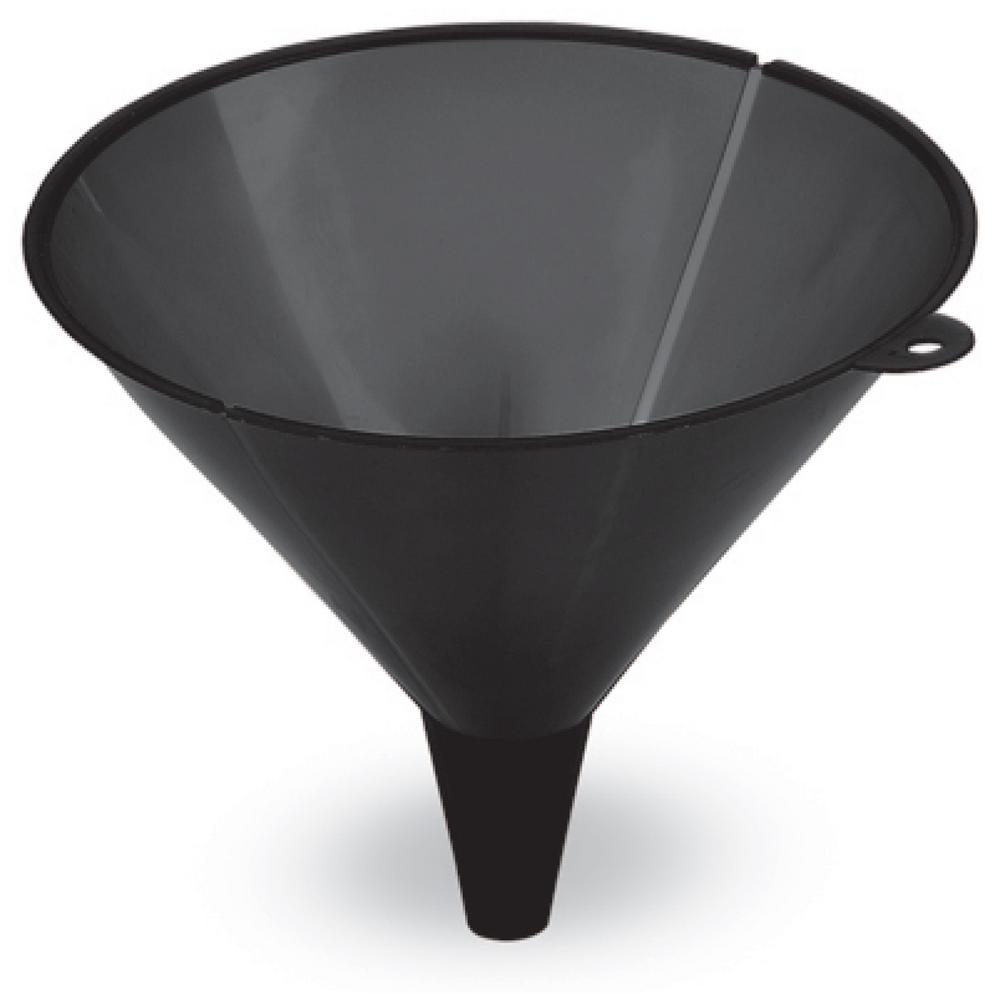
  • Funnel - used to channel liquids into a smaller container.Image result for Funnel
  • Measuring Cylinder - This is used to measure liquids for experiments. The liquids will be poured into a beaker or test tube once measured out.Image result for Measuring Cylinder

Thursday, May 2, 2019

White Powder

Hurumanu - What is that white powder?

Today you will be a Forensic Chemist. 
A bag of white powder has been confiscated by airport customs.  You need to find out what white powder it is?

Aim: To learn about the makeup of different white powders.

There are a number of different white powders in our everyday life. Some of these are harmful and others are not. Test the four white powders listed to see which one has been found at the airport.

Here are some examples of everyday kitchen white powders.

Flour, Cornflour, Sugar, Salt, Baking Soda, Baking Powder, Icing Sugar, Tartaric Acid

Citric Acid, Gluten Free Flour

You will be given a small amount of 4 white powders on your cardboard. On the black cardboard using a magnifying glass look at the powders.
Look at them under your magnifying glass and record what you see. 

These are the four powders we will be using. Upload a photo of each powder. 

1.  Cornflour
2.  Baking Soda
3.  Salt
4.  Sugar 

Before you add the iodine, vinegar or water you will need to divide each powder into 3.

Materials

1.  cornflour
2.  baking soda
3.  salt
4.  sugar
5.  vinegar
6.  iodine
7. water

Steps

1.get powders split them into thirds 
2. add the iodine to 1/3  of all the powders
3. watch
4. add water to another third of all the powder
5. watch
6. add vinegar to another third of all the powder


Findings:
the mystery powder is baking soda


Sugar
Salt
Baking Soda
Cornflour
Appearance
whitewhitewhitewhite
Texture
largelargesmallsmall
Smell
sweetsea saltlemonynone
Iodine
absorbs absorbshardenssits then hardens
Water
meltssitsmeltsabsorbs
Vinegar
meltsabsorbsbubblessits

Write a paragraph about your findings.

The mystery powder was baking soda the main reason we were able to tell was that the baking soda with the vinegar made bubbles which were unique to the baking soda that reason the baking soda reacted that way was because together they create carbon dioxide.

Monday, April 8, 2019

skittles

Skittles

Aim: To separate colours from skittles by using the chromatography.

Definition: Chromatography is a method of separating out materials from a mixture.
Eg. blood, ink, drugs,

Materials;

1. Yellow skittle. 

2. Red skittle. 
3. Orange skittle. 
4. Purple skittle. 
5. Green skittle. 
6. Petrie dish.
7. Water.
Process:

 Step 1: Get stuff you need.
 Step 2: Put skittles in Petrie dish.
 Step 3: Spread the skittles across the Petrie dish going to each edge of it with them remember to spread out equally.
 Step 4: Pour water into dish.
 Step 5: Watch.
 Step 6: Eat.


Conclusion: What have I learnt from this experiment?

This was a fun experiment and so cool to watch but the skittles were hard and sticky after we pulled them out of the water the reason the skittles looked liked they melted is that they have a food coating that comes of in water.


Rainbow Paper

Hurumanu - Rainbow Paper

Aim: To separate colours by using the process of chromatography.


Definition: Chromatography is a method of separating out materials from a mixture.
Eg. blood, ink, drugs,

Scenario
A crime has been committed. The police have a signed cheque and a letter from the same crime scene but it seems like the handwriting is different. They have 3 suspects but not enough evidence. They need to know if the letter and the cheque were written by the same person.

How do they tell if the pens used for both of these pieces of evidence are the same?

Related imageRelated imageImage result for chromatography


Rainbow paper

Materials;

1. Paper.
2. Pencil.
3. Ruler.
4. 2 markers.
5. Cup.
6. Water.

Process:

Step 1: Get paper.
Step 2: Rule a line with the pencil 1cm away from the bottom of the paper.
Step 3: Draw 2 dots on the line.
Step 4: Fold the paper over the side of the cup.
Step 5: Pour a little bit of water in the cup.
Step 6: Watch.

Conclusion: What have I learnt from this experiment?

Water travels up the paper because water is sticky and the molecules like to stay together and go up.


10 chems

Aim: To learn the names of 10 household chemicals and identify if they are a solid, liquid or a gas.

Equipment:

1. Soap.
2. Lemon juice.
3. Salt.
4. Vinegar.
5. Sugar.
6. Milk.
7. Onion.
8. Lemonade.
9. Bleach.
10. Baking Soda.

Task 1: Put the 10 chemicals in a chart with the titles - Name, Chemical ingredient(s), Image, Solid/Liquid/Gas.


I learned a lot about chemicals lots of it I don't understand but I know about different chemicals now at least.


Name
Chemical
Image
solid/liquid/gas
soap
Sodium and potassium salts
Image result for soap
Solid / liquid
Lemon juice
Citrus acid
Image result for lemon juice
liquid
salt
Sodium chloride
Image result for salt
solid
vinagar
Acetic acid and water
Image result for vinegar
liquid
suger
glucose and fructose
Image result for sugar
solid
milk
Calcimum hydroxide
Image result for milk
liquid
Onion gas
Allium cepa
Image result for onion
gas
lemonade
Fructose
Image result for lemonade
liquid
bleach
Sodium hypochlorite
Image result for bleach cleaner
liquid
Bakeing soda
Sodium bicarbonate
Image result for baking soda
solid